Birb Cam
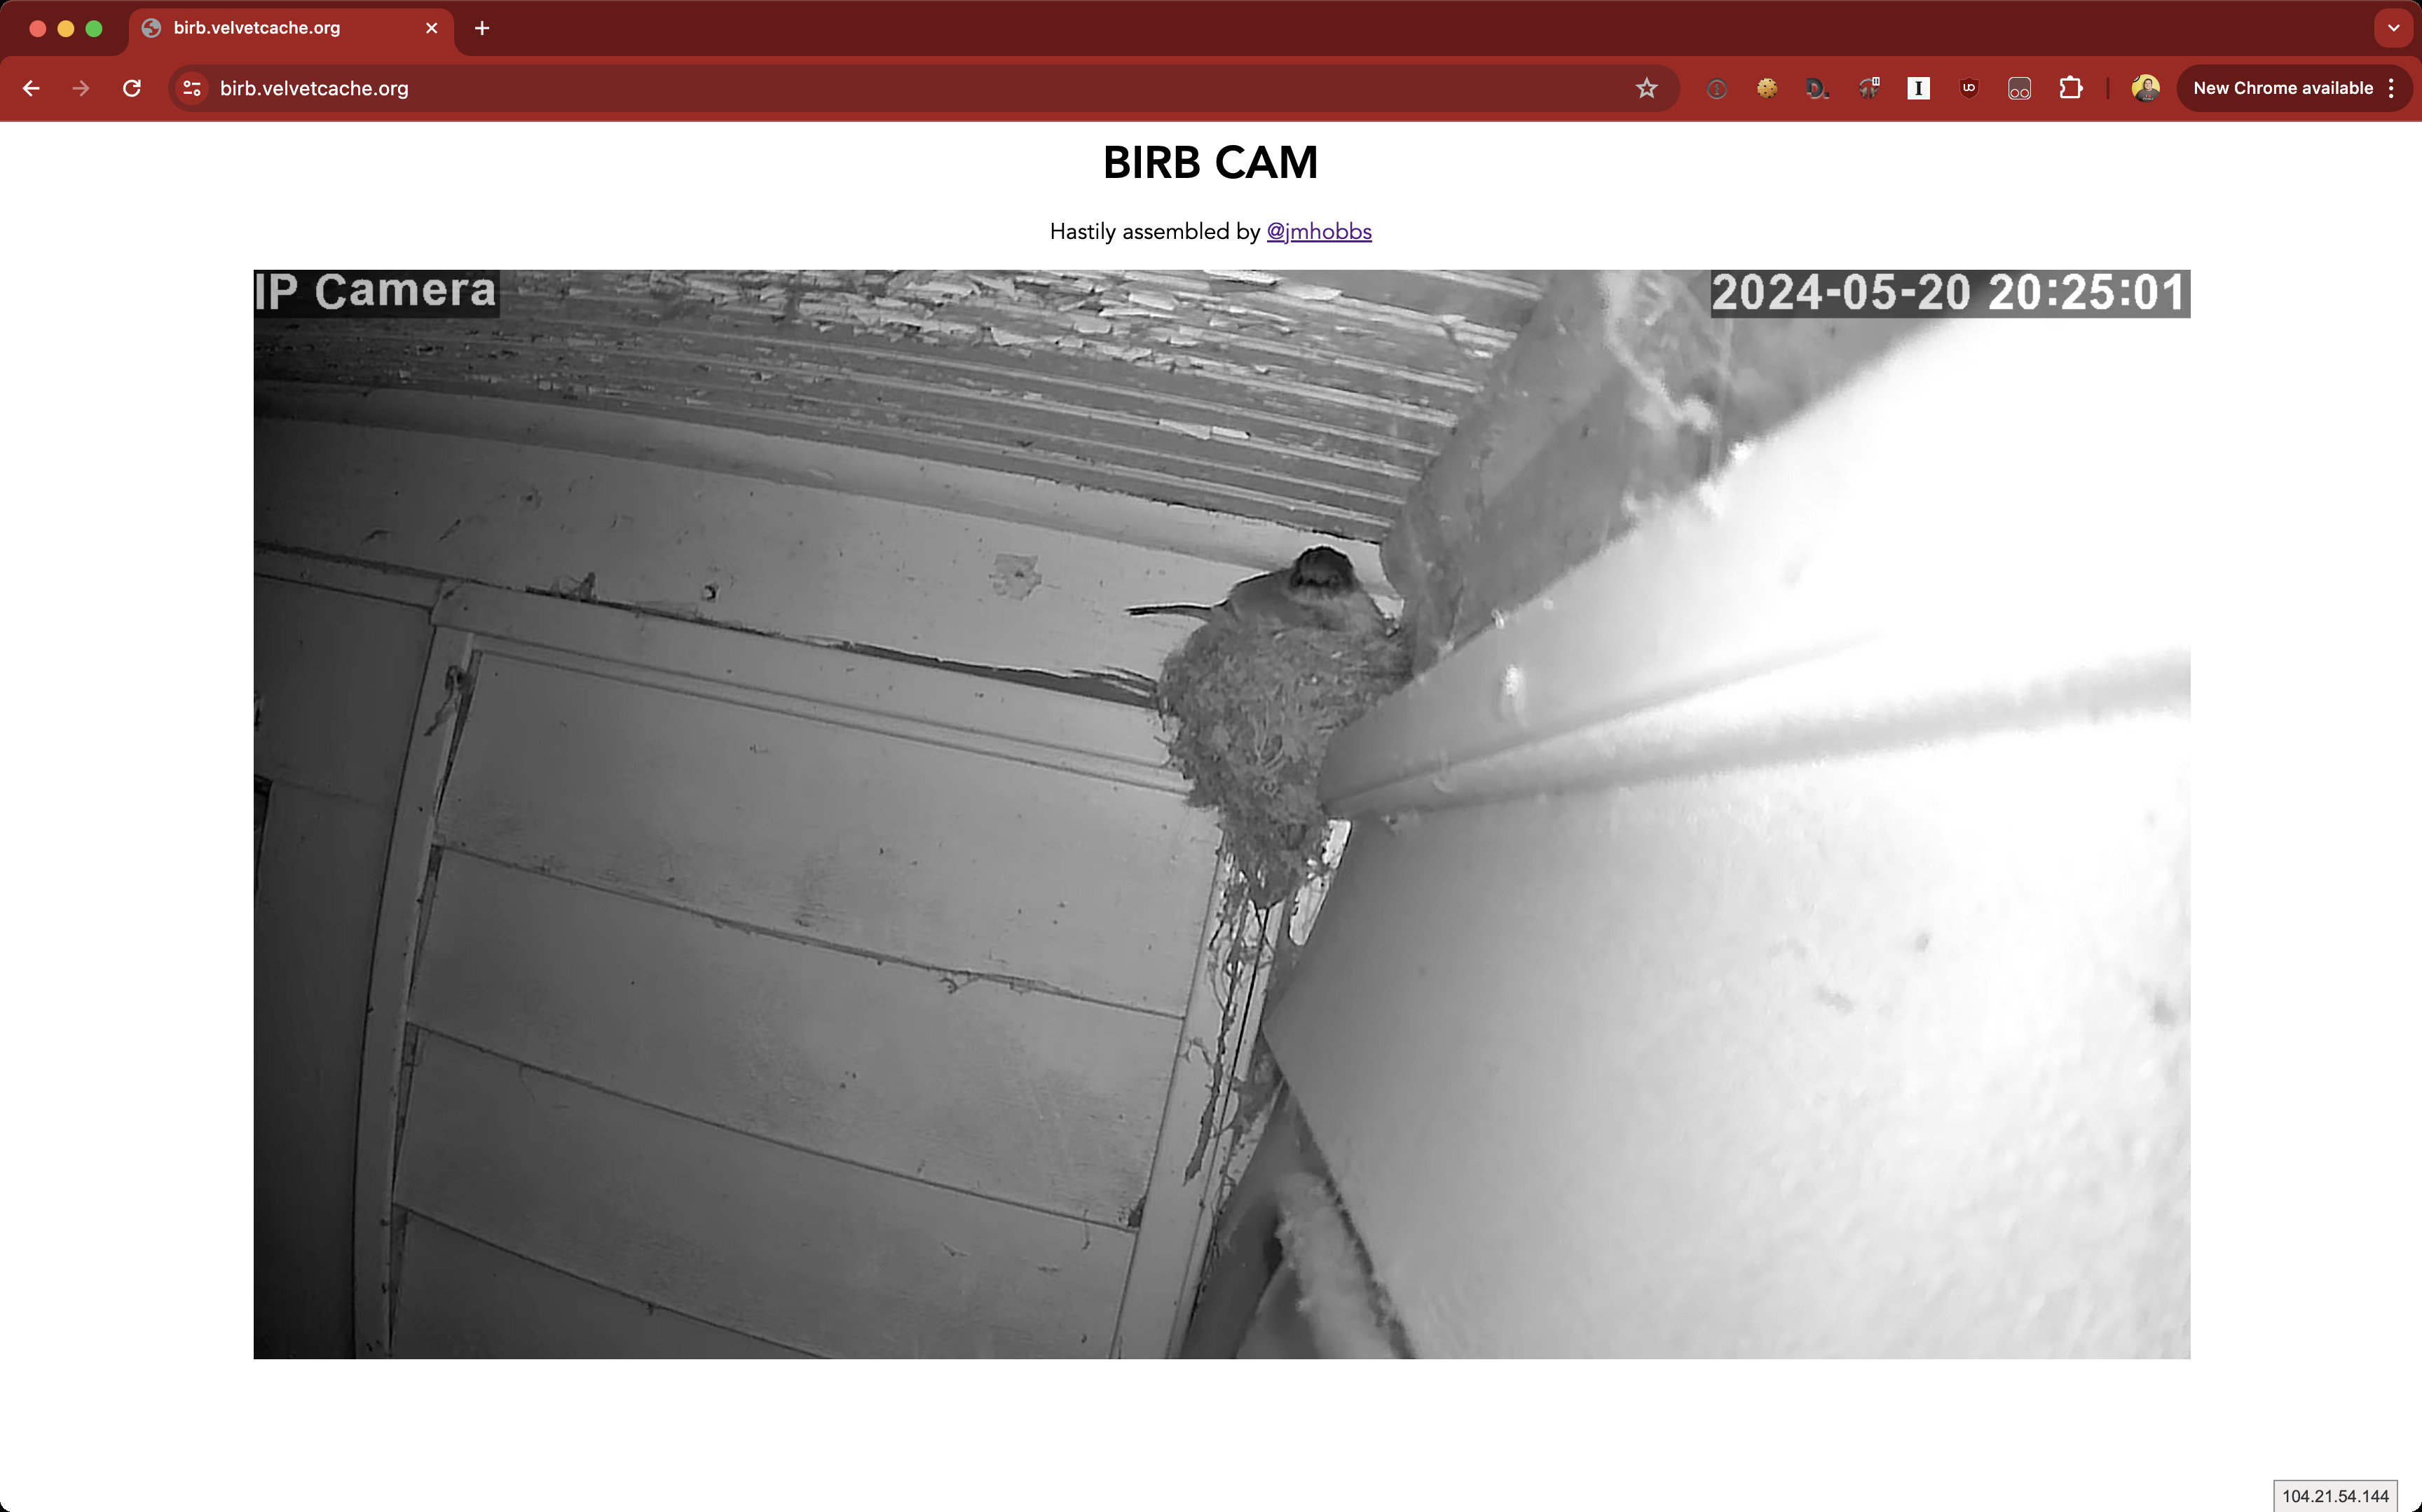
This spring we had a swallow nest on our back porch. I put up a cheap IP camera so we could watch her. She's a great little bird, so why not share her with the world?
Eleven years ago I cobbled together a webcam setup to post my chickens online. That system worked with a lot of constraints due to our location and the infrastructure available to me at the time. This time, with fiber internet and a decade of change online, we can do better.
Hardware
The camera we are using is a cheap Chinese IP camera with a wifi connection, a Boavision. It streams video over RTSP, which is not something browsers natively support. Since we need a middleman to change the encoding, I'll leverage my Mac Mini from circa 2010. It's my general purpose Linux box these days, sporting a Intel Core 2 Duo CPU P8600 clocked at 2.40GHz and 8GB of RAM.
Streaming Protocol
The streaming protocol choices are HLS and DASH. I am passingly familiar with HLS from previous work, so I chose that. Some quick googling on how to get ffmpeg to output HLS segments led me to existing projects that do this exact same thing, RTSP to HLS, such as this one
My initial ffmpeg command, annotated, was this:
ffmpeg
  // quieter output
  -hide_banner -y -loglevel error
  // reduce latency during input stream analysis
  -fflags nobuffer
  // rtsp over tcp is more reliable
  -rtsp_transport tcp
  // heres our source
  -i rtsp://192.168.1.124/1/h264major
  // passthrough video sync
  // on newer ffmpeg this is -fps_mode passthrough
  -vsync 0
  // copy timestamps from rtsp stream
  -copyts
  // copy video directly from input
  -vcodec copy
  // output as fragment on each keyframe
  -movflags frag_keyframe+empty_moov
  // drop audio
  -an
  // output HLS
  -f hls
  // HLS should delete own segments and append as they go
  -hls_flags delete_segments+append_list
  // try to make 1 second segments
  -hls_time 1
  // keep 10 segments on disk
  -hls_list_size 10
  // wrap it in mpegts
  -hls_segment_type mpegts
  // set the output name template
  -hls_segment_filename "%d.ts"
Playback
Desktop browsers do not support HLS (except Safari), so we need a player to make it happen. I looked at video.js, Shaka, and landed on hls.js. I don't have a particular reason, I just chose that one, and I've been pleased with it so far. I am not using it to it's full potential, but this is enough to get the video displaying in the browser.
var error = document.getElementById("error");
var clearErrorTimout = null;

if (Hls.isSupported()) {
  var video = document.getElementById('video');
  var hls = new Hls();

  hls.on(Hls.Events.MANIFEST_PARSED, function (event, data) {
    video.play();
  });

  hls.on(Hls.Events.ERROR, function (_, data) {
    console.error(data);
    error.innerText = data.error.message;
    error.style.display = "block";
    if (clearErrorTimout) {
      clearTimeout(clearErrorTimout);
    }
    clearErrorTimout = setTimeout(() => {
      error.style.display = "none";
    }, 5000);
  });

  hls.loadSource('index.m3u8');
  hls.attachMedia(video);
} else {
  console.error('HLS is not supported');
}
Transcoding
This worked great out of the box on Chrome, but it was failing on Firefox. It took a little bit to figure it out, but the IP camera is emitting H.265, even though the RTSP URI has h264 in it.
Input #0, rtsp, from 'rtsp://192.168.1.124/1/h264major':
  Metadata:
    title           : 10
  Duration: N/A, start: 0.000000, bitrate: N/A
  Stream #0:0: Video: hevc (Main), yuv420p(tv, bt709), 1920x1080, 15 fps, 15 tbr, 90k tbn
  Stream #0:1: Audio: pcm_alaw, 8000 Hz, mono, s16, 64 kb/s).
Firefox does not support this. The workaround is to transcode into H.264, which is supported by all browsers. Fairly easy here, we swap -vcodec copy for -vcodec libx264, then it works!
Bundling It Up
This could be implemented with a couple of services: a webserver and an ffmpeg process. Rather than wrangle that, I decided to bundle it all up in a single Go binary. There isn't much to it, one go routine shells out to ffmpeg, the other go routine serves up our HTML page and the generated assets while setting appropriate cache-control and content-type headers. The rest of it is coordination so that if one piece fails, it all closes out cleanly.
Once on the server, I created a systemd service file and got it up and running.
[Unit]
Description=Birb Cam Service
After=network.target
StartLimitIntervalSec=0

[Service]
Type=simple
Restart=always
RestartSec=1
User=jmhobbs
ExecStart=/opt/birb/birb.linux-amd64 -hls-output-dir /opt/birb/www/

[Install]
WantedBy=multi-user.target
Tunnel
Now that it works and is running locally, I need to make it public. Previously, I have exposed and forwarded a port, then messed about with dynamic DNS to resolve my home IP on the web. This time I decided I would use a Cloudflare Tunnel to get out of my network without opening things up. Since I already use Cloudflare for my domain, it was relatively simple to set up.
root@macmini# cloudflared tunnel login
...
root@macmini# cloudflared tunnel create birb
Tunnel credentials written to /root/.cloudflared/1a96117b-4afa-444d-ab5a-5adbee116b91.json.
cloudflared chose this file based on where your origin certificate was found. Keep this file secret.
To revoke these credentials, delete the tunnel.

Created tunnel birb with id 1a96117b-4afa-444d-ab5a-5adbee116b91
root@macmini# cat <<EOF > ~/.cloudflared/config.yml
url: http://localhost:8080
tunnel: 1a96117b-4afa-444d-ab5a-5adbee116b91
credentials-file: /root/.cloudflared/1a96117b-4afa-444d-ab5a-5adbee116b91.json
EOF
root@macmini# cloudflared tunnel route dns birb birb.velvetcache.org
root@macmini# cloudflared service install
Counting Birb Watchers
Since I had written my own server with Go, I figured I could add a "live viewer" count to it with WebSockets. I added a map of open websocket connections, then a ticker which posts the size of the map over all open connections every five seconds.
var connections map[string]*websocket.Conn = make(map[string]*websocket.Conn)

func countUpdater(ctx context.Context) {
  ticker := time.NewTicker(5 * time.Second)
  for {
    select {
    case <-ctx.Done():
      ticker.Stop()
      return
    case <-ticker.C:
      count := []byte(strconv.Itoa(len(connections)))
      for _, conn := range connections {
        err := conn.WriteMessage(websocket.TextMessage, count)
        if err != nil {
          log.Printf("Error writing message to %s: %v", conn.RemoteAddr().String(), err)
        }
      }
    }
  }
}
The browser side is as uncomplicated as I could make it;
const count = document.getElementById("count");

const wsUrl = new URL("/ws", window.location.href);
wsUrl.protocol = wsUrl.protocol.replace("http", "ws");

const ws = new WebSocket(wsUrl.href);
ws.onmessage = (event) => {
  count.innerText = event.data;
};
H.264 Tuning
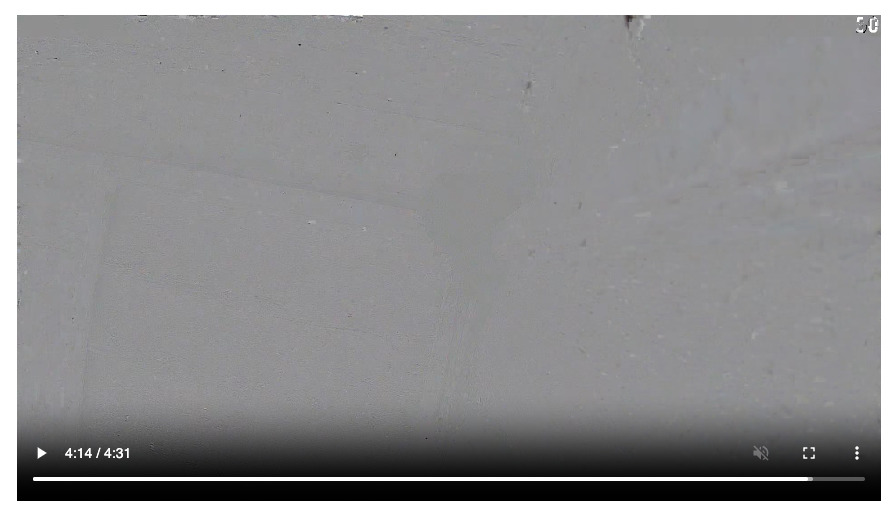
The birb cam was now live! Unfortunately, over time I began to notice a lot of glitchy video. Artifacts would show up, the whole video would go grey and impossible to see. On the old mac mini ffmpeg was running hot, basically hogging the whole CPU. I needed to ease that load, so I started looking through ffmpeg options.
I scaled down the video, as the segments were pretty large over the wire as well. Halving the resolution from 1920x1080 to 960x540 using -filter:v scale=960:-1 helped a fair bit but things were still glitching. Looking at H.264 specific options I turned the encoder quality down, -preset superfast -crf 40 -tune zerolatency, this helped a lot more, and felt like a reasonable trade off.
I also added some flags in an attempt to cap the bitrate, though as the docs say, it's not guaranteed with a single pass of the encoder, -maxrate 500K -bufsize 1M.
One other tweak I made was to prefix all the HLS segments with a timestamp from when the process starts. When I was restarting the server it would begin with a 0 for the sequence number, which collided with previous runs. Since I had long cache lifetimes set, you would get the wrong segment from cache and it caused problems. Replacing the value of -hls_segment_filename from "%d.ts" to a little Go which bakes in a timestamp cleared up the problem.
path.Join(
    outputDir,
    fmt.Sprintf("%d_%%d.ts", time.Now().Unix()),
)
Birb to live, don't live to birb
That's it so far, I'll update this post if and when I make modifications to the system, but I'm happy with how it turned out. Cloudflare tunnel is probably the most interesting bit of this to me, it's an incredibly handy and fuss free way to expose this service to the internet.
You can check out the birb cam (while it's up!) at birb.velvetcache.org.
The source code for the server is up on GitHub.