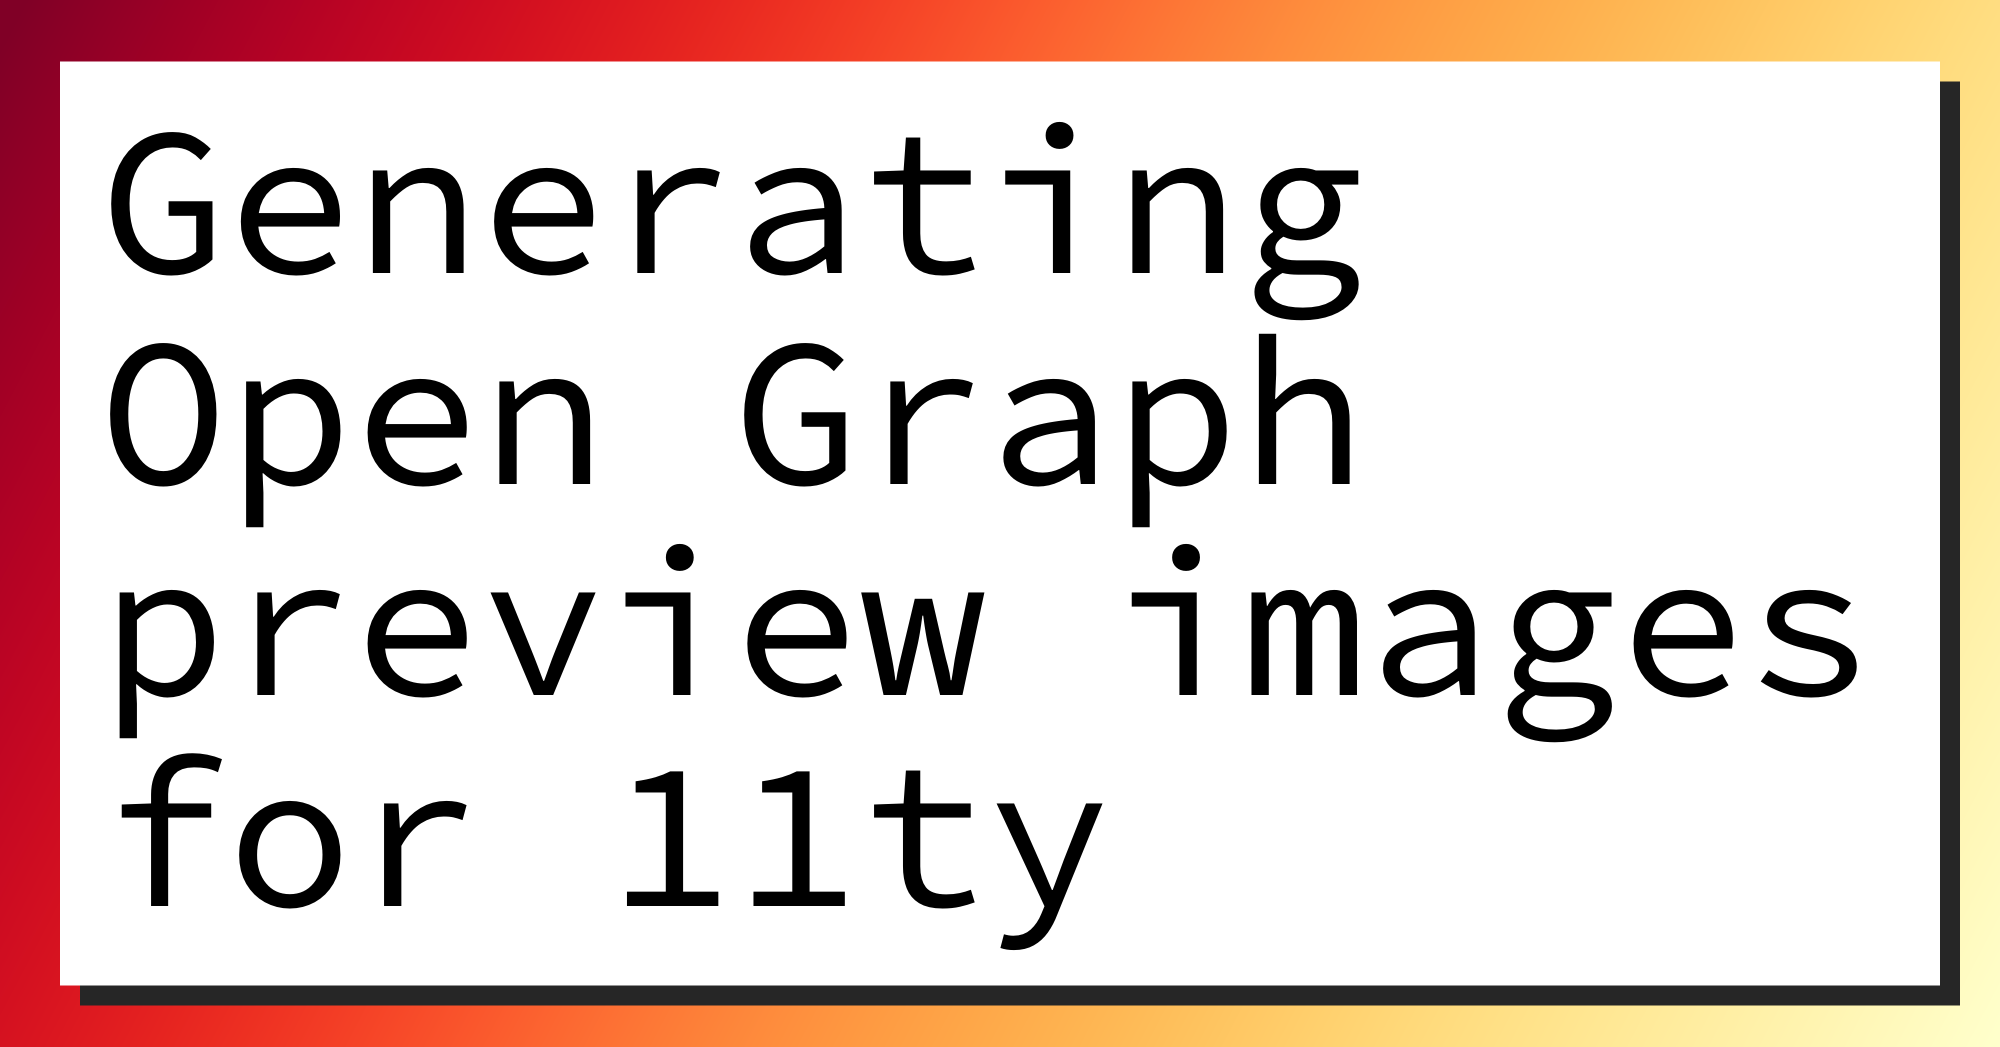
Generating Open Graph preview images for 11ty
Generating Open Graph images for a post isn't a new idea. When you have a lot of content, you don't always want to spend the time making a unique Open Graph image, but you would like something specific to the post. Hence, you create a tool which generates them for you.
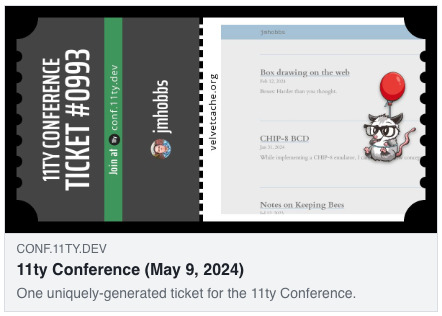
It's used all over: Vercel, Netlify, Webflow, even the clever 11ty conf tickets
The Approach
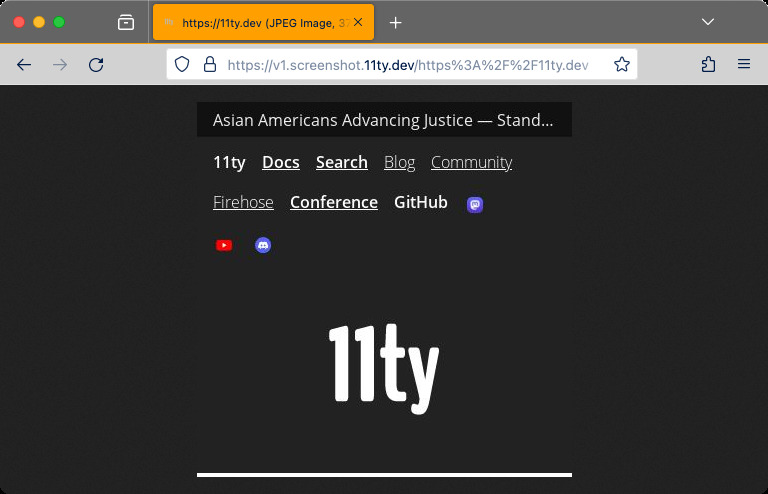
Several systems I looked at render an HTML page and then use a browser (generally Chrome) to screenshot it. That is what 11ty conf is doing, as the function renders out HTML for the ticket, and the service which returns the image is on the domain v1.screenshot.11ty.dev, which is running 11ty/api-screenshot. You can screenshot any website with it, which is neat!
There's nothing wrong with this approach, and I could have even used the 11ty API to do it. I didn't want to though, as it felt both too easy (look, it does all the layout for you!) and too hard (I'm not that great with CSS these days). Plus it's fun to try something I haven't done since college and Cairo.
So, I reach for the comfy blanket that is Go.
The Plan
My generator would work like this:
- Gather all the posts for my site, which are very uniform
- Extract any details I want to use (basically just
title) - Generate a random-ish background
- Draw on a "shadow" box
- Draw on a white box
- Draw on the text in that box, at the largest size I can
- Save it to disk
┌───────────────────────────────────────┐
│                                       │
│  ┌───────────────────────────────┐    │
│  │ ┌───────────────────────────┐ ├─┐  │
│  │ │                           │ │x│  │
│  │ │                           │ │x│  │
│  │ │         Text Here         │ │x│  │
│  │ │                           │ │x│  │
│  │ │                           │ │x│  │
│  │ └───────────────────────────┘ │x│  │
│  └──┬────────────────────────────┘x│  │
│     │xxxxxxxxxxxxxxxxxxxxxxxxxxxxxx│  │
│     └──────────────────────────────┘  │
│                                       │
└───────────────────────────────────────┘
I'll be leaving out the bits of walking the filesystem, gathering posts and parsing out the metadata. It's rough, it's ready, it's not special. If you're interested, all of the code is on github.
Implementing
The fun parts are all in the image processing. Go has reasonable image processing in the standard lib, but for composition and drawing I thought I would try out something more ergonomic. That turned out to be github.com/fogleman/gg. It's very drawing oriented, and, importantly, it has some bits for measuring and rendering fonts.
The height and width of our output image should be at the (weird) ratio that Open Graph suggests, ~1.91. I went for 2000x1047, so we create a new image of those dimensions.
dc := gg.NewContext(2000, 1047)Box & Shadow
Before we can draw the boxes, we need to decide how big they will be. I would like the box to be centered, and I chose a value of 60px away from all the edges, named margin. Then I decided the shadow should be offset from the box by 20px right and down. With those values known, we can calculate the size and origin of the box and shadow. gg orients every thing on an (x,y) coordinate system, with the top left corner of the image being (0,0), so we build our values based on that.
const (
    outputWidth  float64 = 2000
    outputHeight float64 = 1047

    margin  float64 = 60
)

var (
    boxX float64 = margin
    boxY float64 = margin

    boxWidth  float64 = outputWidth - 2*margin
    boxHeight float64 = outputHeight - 2*margin

    shadowOffset float64 = 20
    shadowX      float64 = margin + shadowOffset
    shadowY      float64 = margin + shadowOffset
)
Now we can draw them. First we set the color with SetRGB(r, g, b float64), then draw the appropriate box. Because new draw calls write on top of previous calls, most of the shadow box gets covered up and it turns into our "shadow".
// draw shadow box
dc.SetRGB(0.15, 0.15, 0.15)
dc.DrawRectangle(shadowX, shadowY, boxWidth, boxHeight)
dc.Fill()

// draw white box
dc.SetRGB(1, 1, 1)
dc.DrawRectangle(boxX, boxY, boxWidth, boxHeight)
dc.Fill()
Perfect!
Text
As mentioned above, I wanted my text as large as I could, based on the title in question. To do that, I would have to get the dimensions of the rendered text and go up or down in font size until I hit a limit.
The basic algorithm is this:
                             ┌──────────────────┐
                             │  Find wrapping   │
                             │ for current size │
                             └────────┬─────────┘
                                      │
                              ┌───────▼─────────┐
                              │Measure the text │
                              └───────┬─────────┘
         ┌─────────────┐              │               ┌─────────────┐
         │  Make font  │     ┌────────▼──────────┐    │  Make font  │
 ┌──────▶│   smaller   ◀─Yes─│ Too tall or wide? │─No─▶   bigger    │◀───────┐
 │       └──────┬──────┘     └───────────────────┘    └──────┬──────┘        │
 │              │                                            │               │
 │    ┌─────────▼────────┐                         ┌─────────▼────────┐      │
 │    │  Find wrapping   │                         │  Find wrapping   │      │
 │    │ for current size │                         │ for current size │      │
 │    └─────────┬────────┘                         └─────────┬────────┘      No
 │              │                                            │               │
Yes    ┌────────▼────────┐                          ┌────────▼────────┐      │
 │     │Measure the text │                          │Measure the text │      │
 │     └────────┬────────┘                          └────────┬────────┘      │
 │              │                                            │               │
 │  ┌───────────▼────────────┐                   ┌───────────▼────────────┐  │
 └──│ Text too tall or wide? │                   │ Text too tall or wide? │──┘
    └───────────┬────────────┘                   └───────────┬────────────┘
               No                                           Yes
                │                                            │
         ┌──────▼──────┐                             ┌───────▼──────┐
         │Use font size│                             │ Use previous │
         └─────────────┘                             │  font size   │
                                                     └──────────────┘
The gg package has two methods we will use to sort out our font size.
The first function, WordWrap takes a string and a width in pixels, then breaks the string into multiple lines such that they will fit into the given width with the current font and size. This method isn't exact, because if you have a large font and a long word, it won't break the word in parts, and it may exceed the width provided.
The second function, MeasureMultilineString, will take a string that has new lines in it, and a line spacing value, and compute the box that the text will take up.
Before we can start measuring we need to choose and load our font. I'll be using Source Code Pro, and loading it with the Freetype implementation from github.com/golang/freetype. I chose a starting font size that should be close to many of my titles, 120.
fontSize := baseFontSize

dc := gg.NewContext(int(maxWidth), int(maxHeight))
face := truetype.NewFace(font, &truetype.Options{Size: fontSize})
dc.SetFontFace(face)
Now we can see if it fits. We word wrap at that width, then measure. It's a bit slow, and perhaps there is a better way to do this, but it works well enough for me for far.
/*
    "Generating Open Graph preview images for 11ty"
    becomes, depending on font size, something like
    []string{
        "Generating",
        "Open Graph',
        "preview images",
        "for 11ty"
    }
*/
wrapped := dc.WordWrap(text, maxWidth)

// We then rejoin with newlines and measure the output
textWidth, textHeight := dc.MeasureMultilineString(strings.Join(wrapped, "\n"), lineSpacing)
Once we measure, we loop and shrink or grow the size until we get our best fit. For example, if we need shrink it down:
if textHeight > maxHeight || textWidth > maxWidth {
for {
fontSize -= 1.0
face = truetype.NewFace(font, &truetype.Options{Size: fontSize})
dc.SetFontFace(face)
wrapped = dc.WordWrap(text, maxWidth)
textWidth, textHeight = dc.MeasureMultilineString(strings.Join(wrapped, "\n"), lineSpacing)
if textHeight < maxHeight && textWidth < maxWidth {
break
}
}
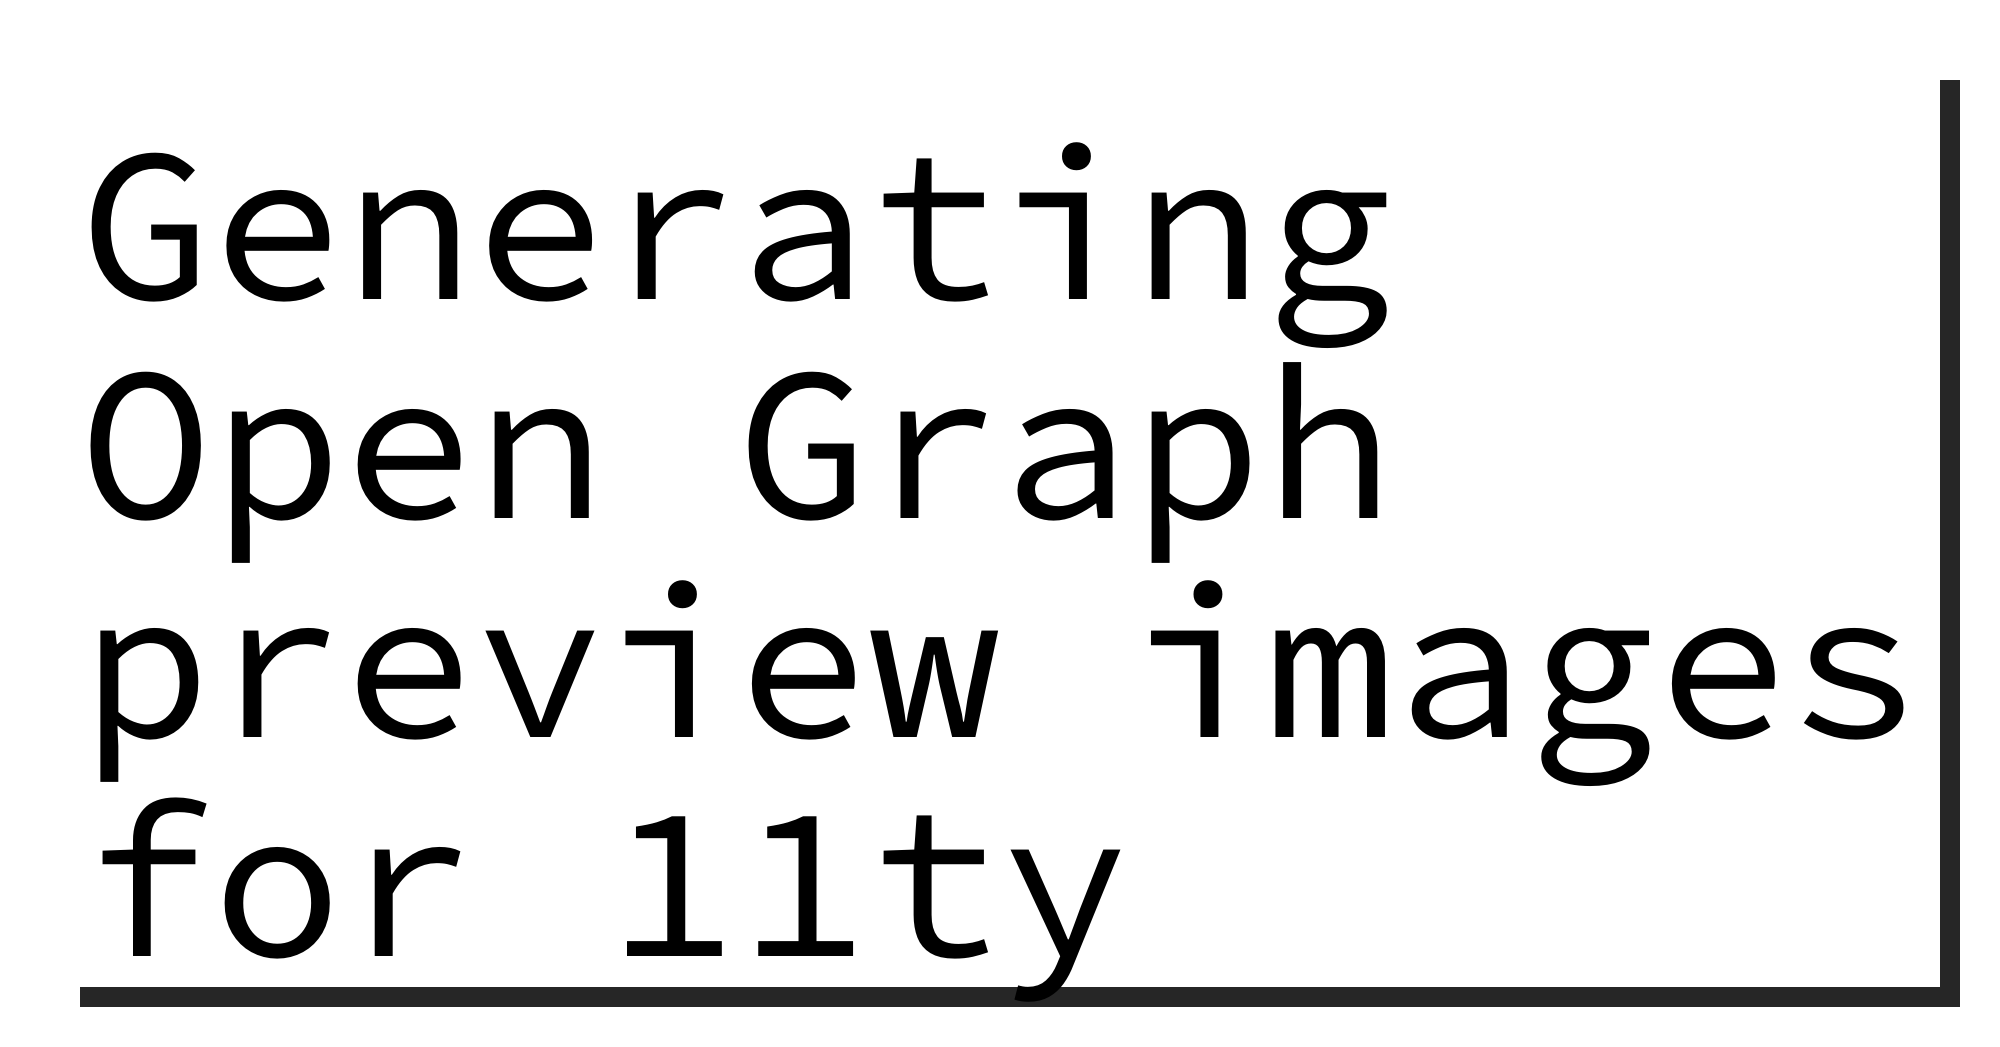
} else {With our size in hand, we can write it onto our box. I added a little 20px padding all the way around the text to make sure it is inset from the edge.
var (
    padding float64 = 20

    title string = "Generating Open Graph preview images for 11ty"

    textMaxWidth  float64 = boxWidth - 2*padding
    textMaxHeight float64 = boxHeight - 2*padding

    textX float64 = margin + padding
    textY float64 = margin + padding

    lineSpacing float64 = 1.0
    fontSize    float64 = 120
)

// find best fit text dimensions
fontSize = fitTypeToBox(
    title,
    textMaxWidth,
    textMaxHeight,
    lineSpacing,
    fontSize,
)
dc.SetFontFace(truetype.NewFace(font, &truetype.Options{Size: fontSize}))

// draw text
dc.SetRGB(0, 0, 0)
dc.DrawStringWrapped(title, textX, textY, 0, 0, textMaxWidth, lineSpacing, gg.AlignLeft)
It fits...mostly.
It seems that the MeasureMultilineString does not measure for descenders, hence the y in 11ty running out of the bottom of the box. If we return the measured width and height we can draw an outline of where it thinks the text box is.
fontSize, textWidth, textHeight := fitTypeToBox(
    title,
    textMaxWidth,
    textMaxHeight,
    lineSpacing,
    fontSize,
)
dc.SetFontFace(truetype.NewFace(font, &truetype.Options{Size: fontSize}))

dc.SetRGB(1, 0, 0)
dc.DrawRectangle(textX, textY, textWidth, textHeight)
dc.Stroke()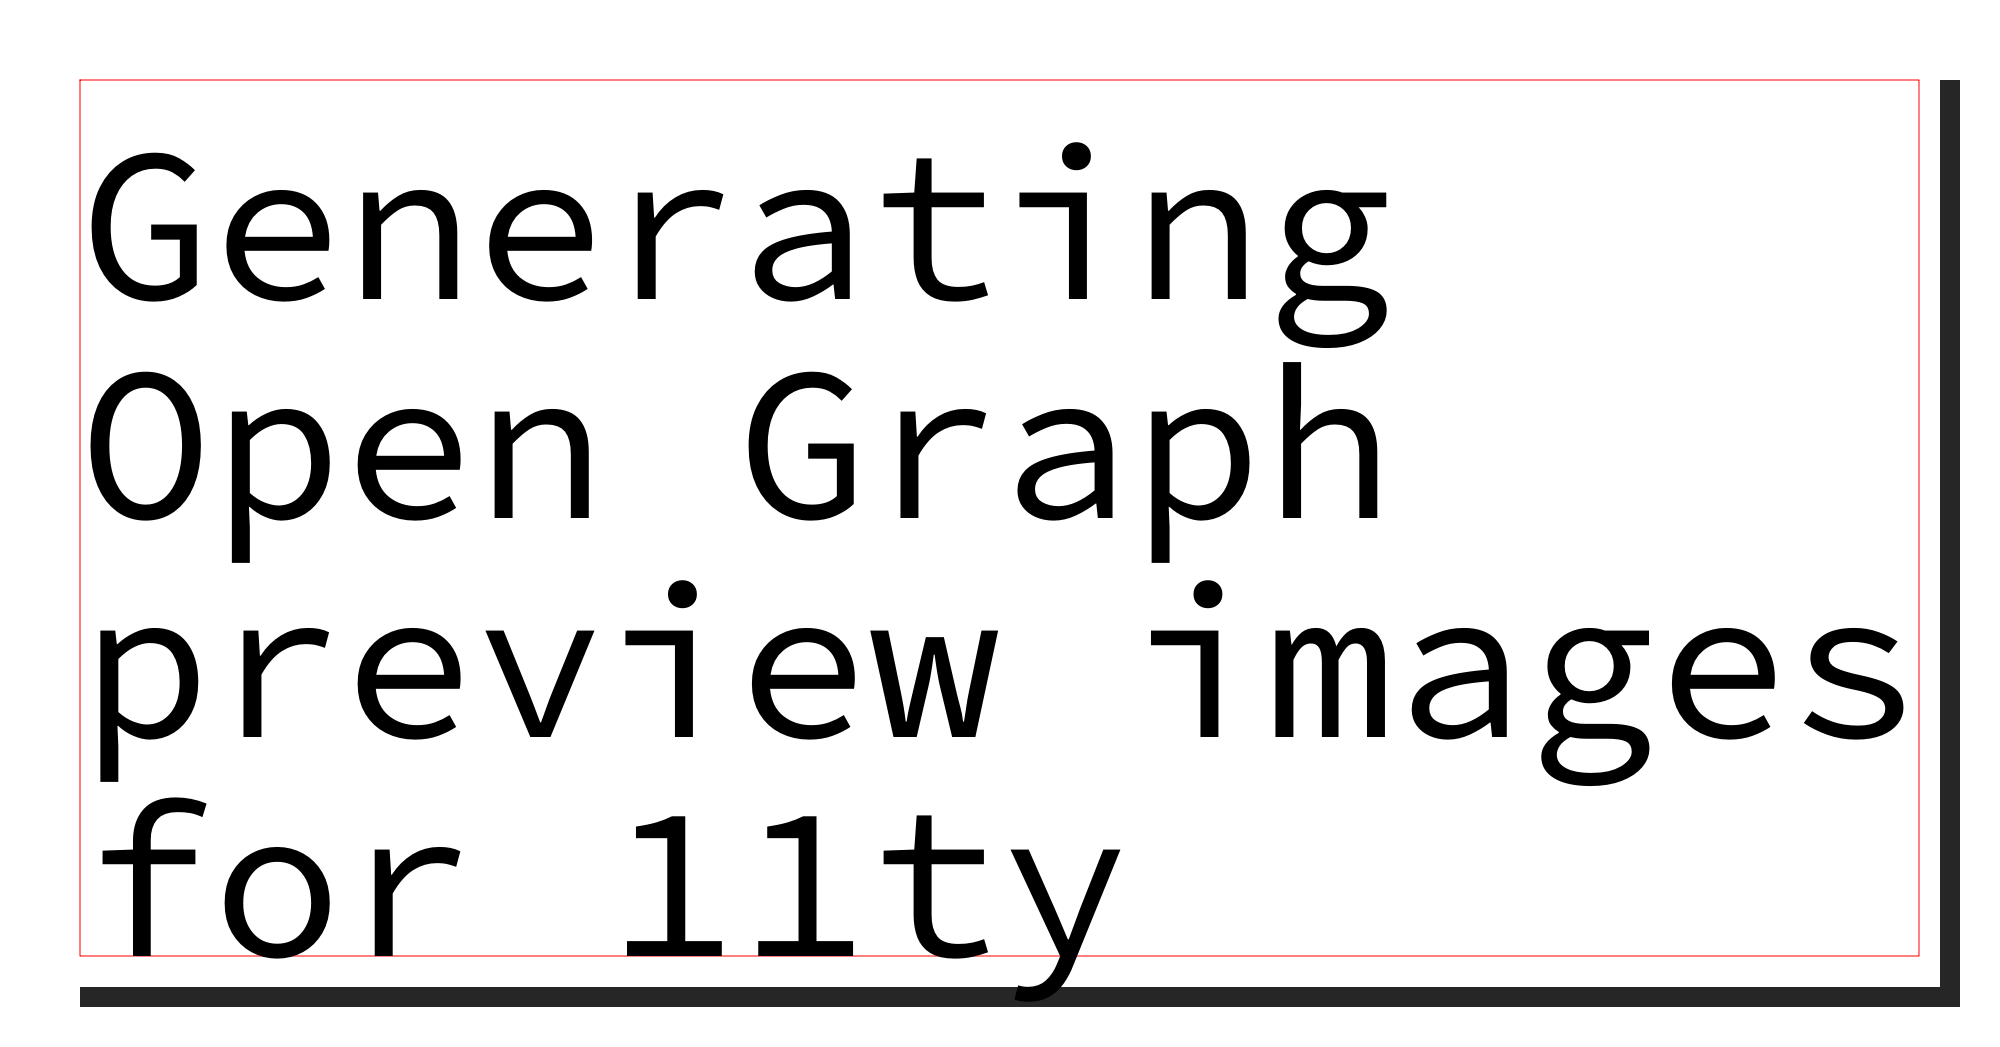
Not ideal, but we can compensate. I measured the gap I wanted it shifted, and got 22.5px. I checked the ratio on a couple other font sizes and it seemed to work out, so I went with that.
var textShiftY float64 = -1 * (22.5 / 120.0) * fontSize

// draw text
dc.SetRGB(0, 0, 0)
dc.DrawStringWrapped(title, textX, textY+textShiftY, 0, 0, textMaxWidth, lineSpacing, gg.AlignLeft)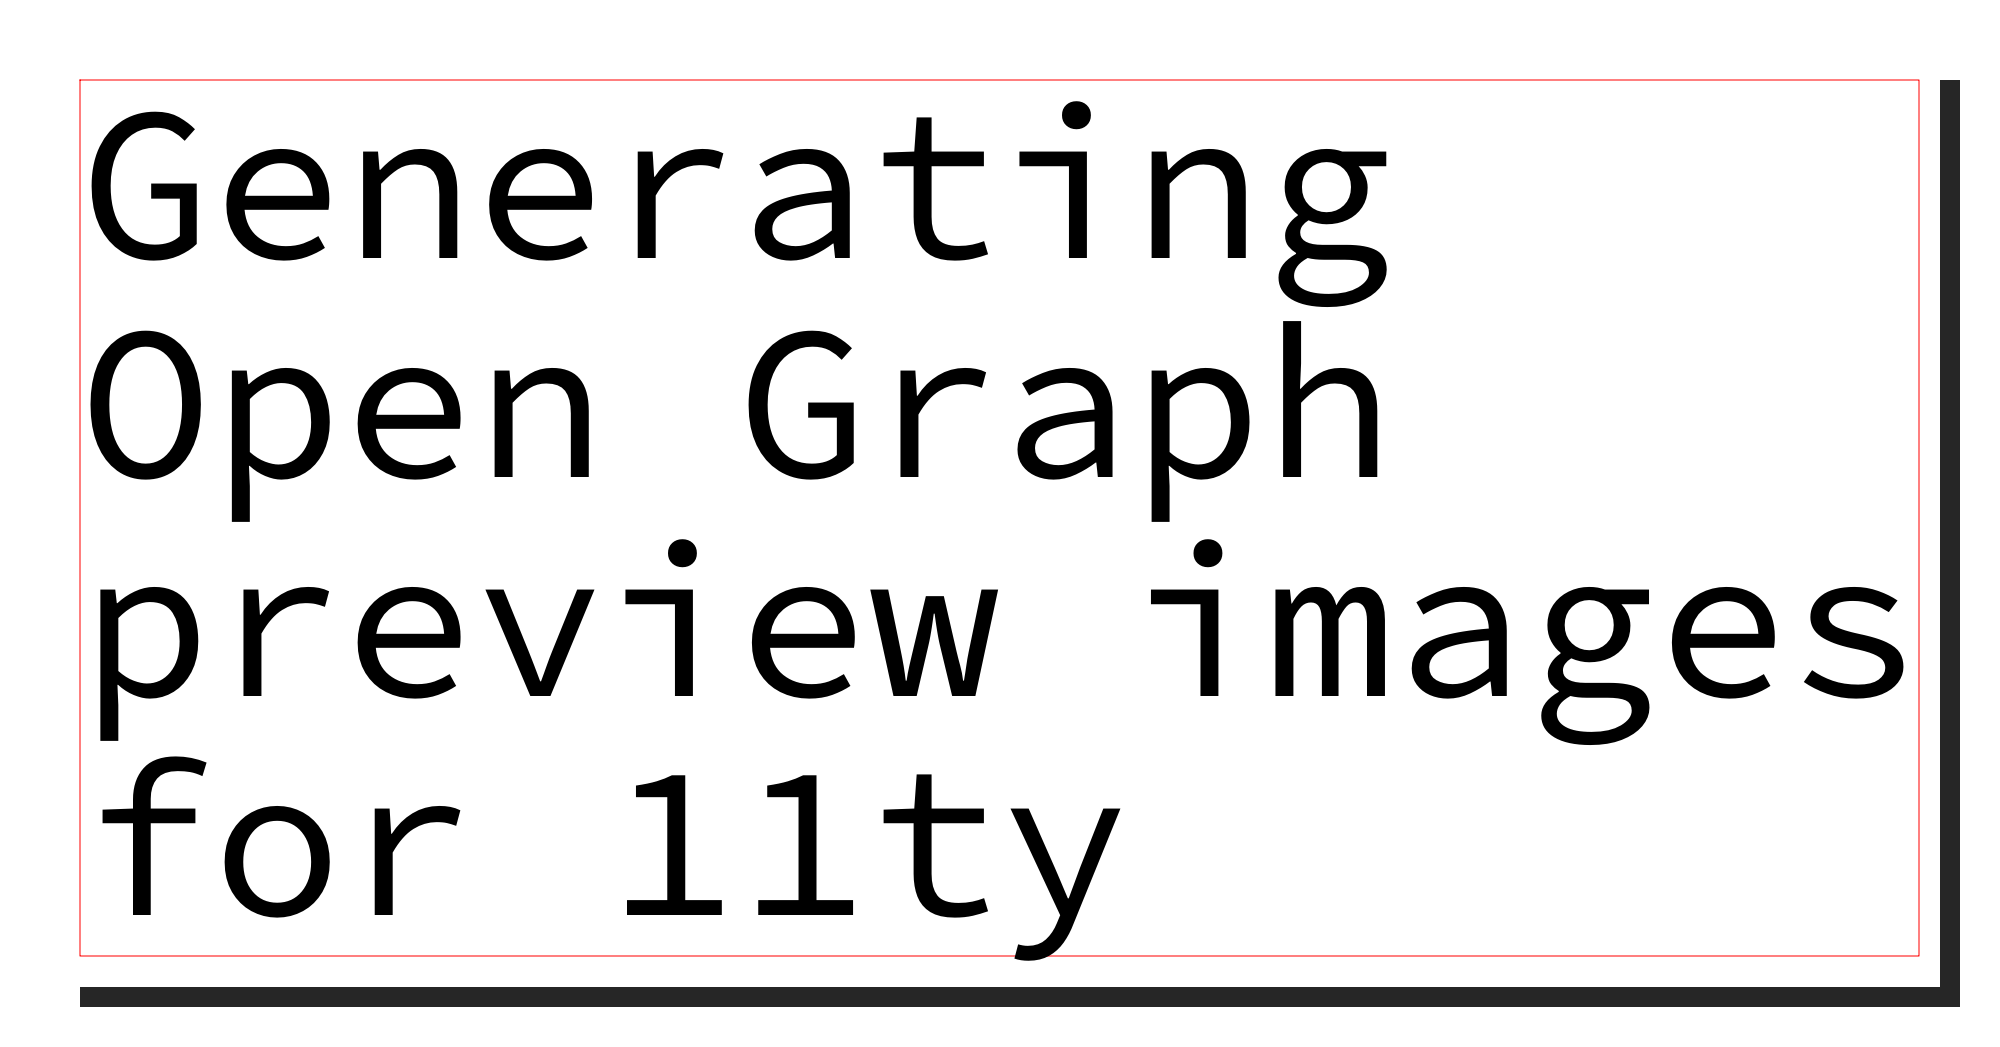
Looks good enough!
The Background
For the background I wanted a mix of gradients and patterns. For colors, I started with the Monokai/Molokai base colors of the blog.
I found a pattern generator which made nice output, with a simple title as input, github.com/pravj/geopattern. The output was an SVG, so I also found a rasterizer, github.com/srwiley/rasterx. It was able to rasterize almost all of the patterns, only having trouble with the "plaid" pattern. It's a bit of a hack, but all just glue code, I didn't do anything interesting here.
Gradients are well supported by gg, so I added the options of going left to right, top to bottom, and corner to corner, in each possible variation. You can have as many color stops in your gradient as you'd like. Originally, my gradients went from a theme color at one end to a different one at the other end. I wrote a quick check to ensure all my colors got along in gradients, and while they are not all visual thrilling, they aren't painful to look at, especially considering there will only be a small area of each one visible.
func main() {

  dc := gg.NewContext(2000, 15*100)
  colorStrs := []string{
    "#e5b567",
    "#b4d273",
    "#e87d3e",
    "#9e86c8",
    "#b05279",
    "#6c99bb",
  }

  n := 0
  for i, baseColor := range colorStrs {
    red, green, blue, _ := hexColorToRGB(baseColor)
    for _, opposingColor := range colorStrs[i+1:] {
      red2, green2, blue2, _ := hexColorToRGB(opposingColor)

      gradient := gg.NewLinearGradient(0, 0, 2000, 0)
      gradient.AddColorStop(float64(n%2), color.RGBA{red, green, blue, 255})
      gradient.AddColorStop(float64((n+1)%2), color.RGBA{red2, green2, blue2, 255})

      dc.SetFillStyle(gradient)
      dc.DrawRectangle(0, float64(n*100), 2000, 100)
      dc.Fill()

      n++
    }
  }
  dc.SavePNG("gradients.png")
}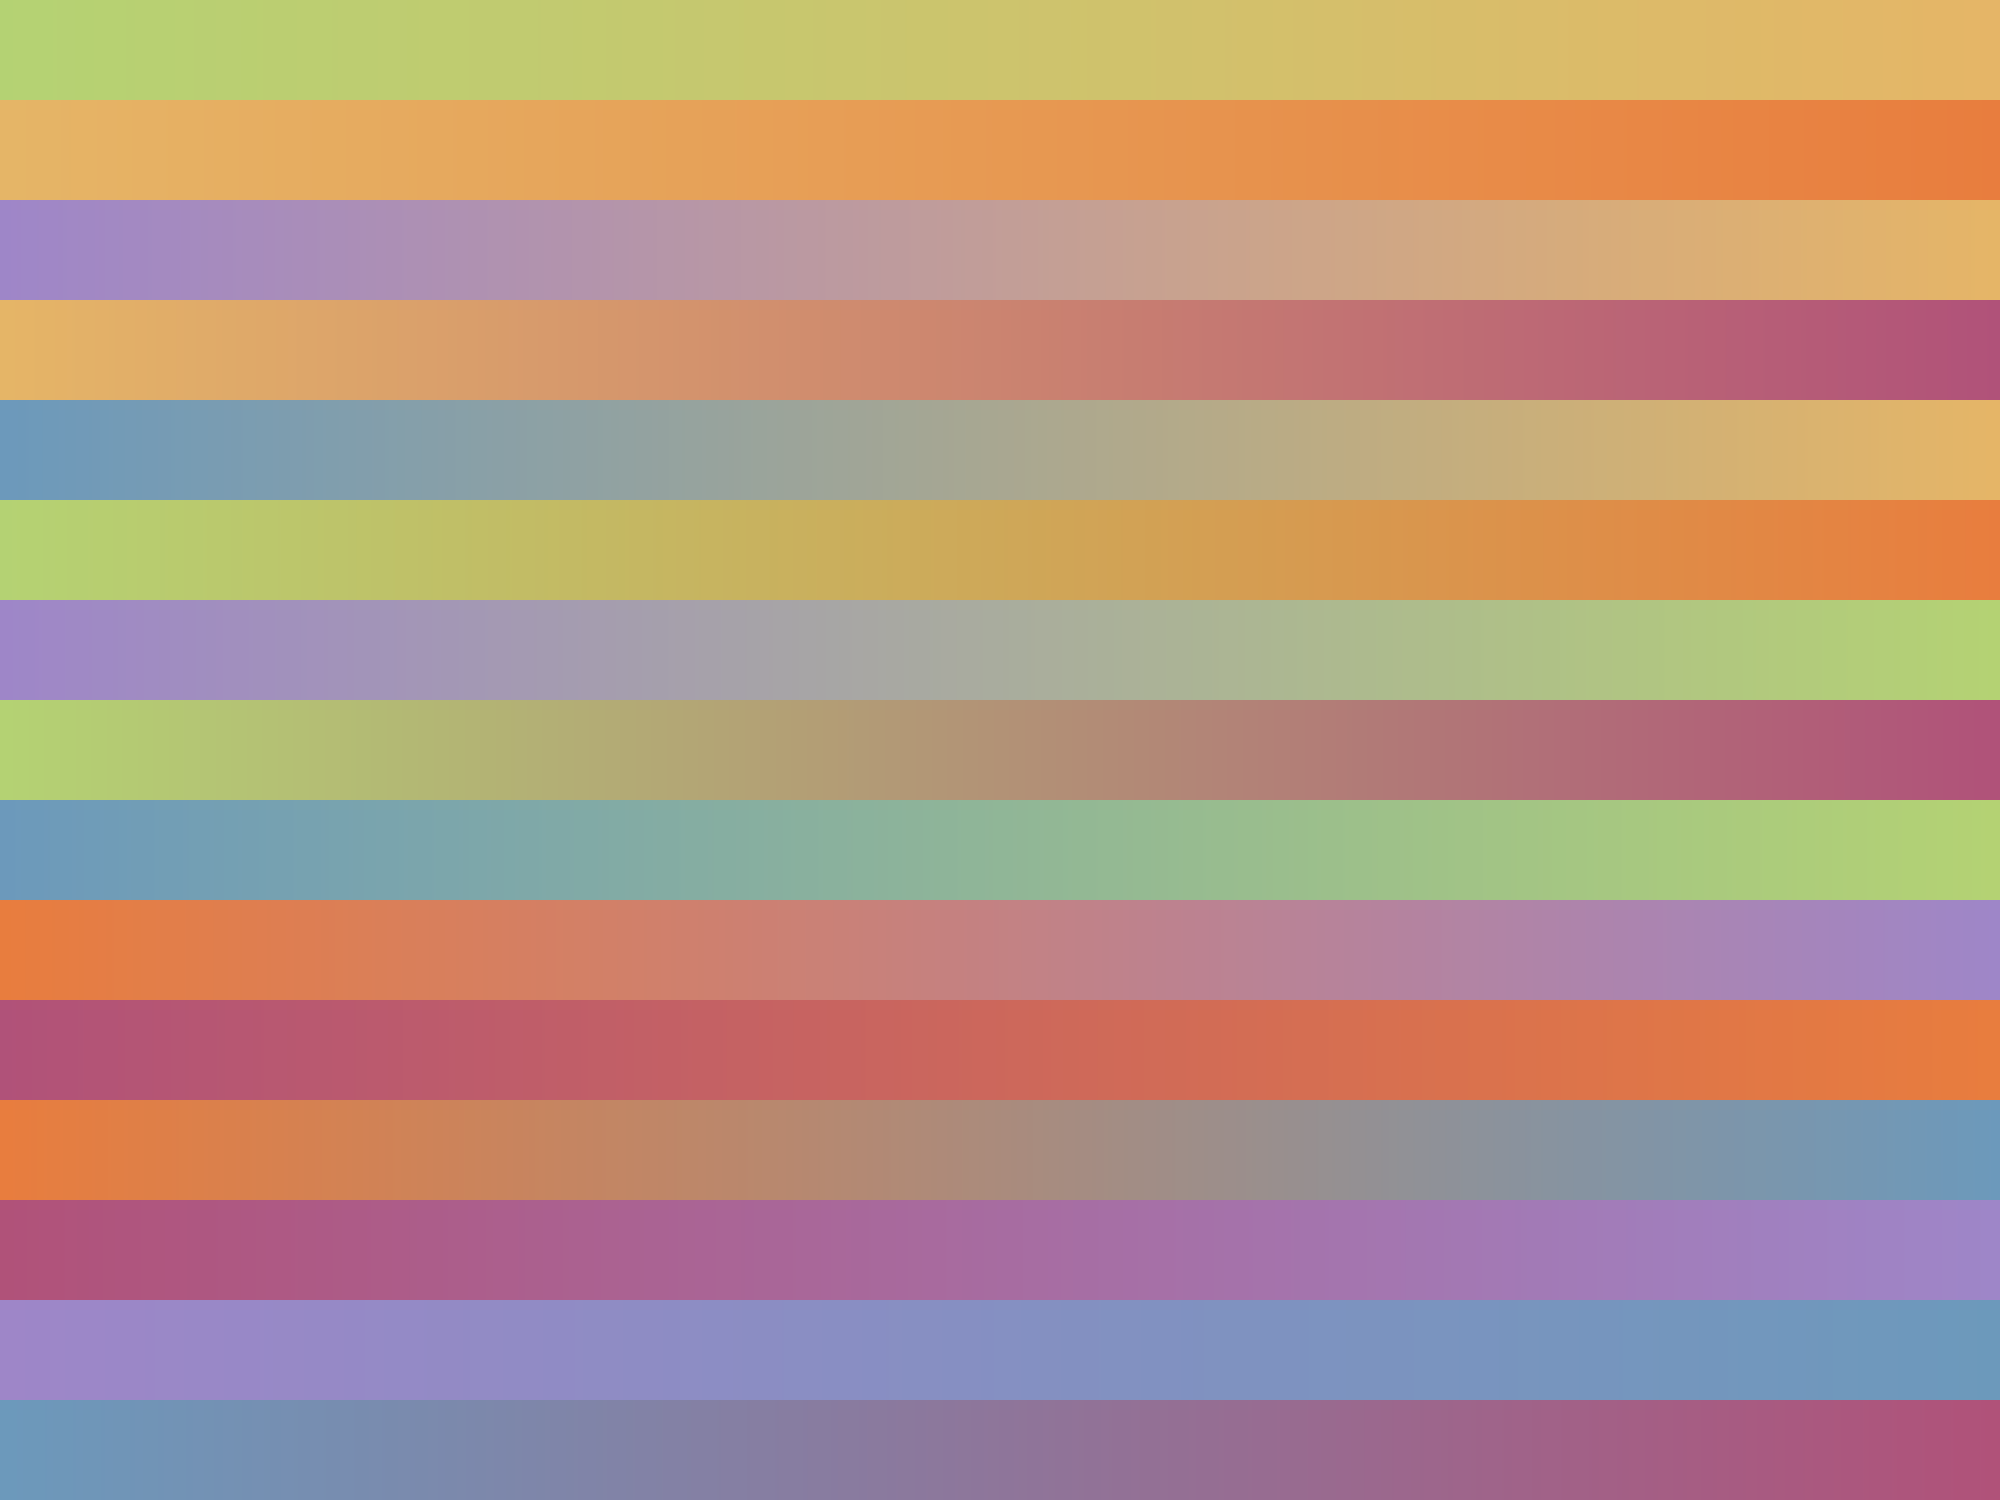
I am definitely not a designer, so I went out and found some fancy gradients and took them too. The github.com/mazznoer/colorgrad is great and has some really neat built in gradients.
colors = colorgrad.Sinebow().Colors(100)

gradient := gg.NewLinearGradient(fromX, fromY, toX, toY)

for i, c := range colors {
    gradient.AddColorStop(float64(i)/float64(len(colors)), c)
}
dc.SetFillStyle(gradient)
dc.DrawRectangle(0, 0, outputWidth, outputHeight)
dc.Fill()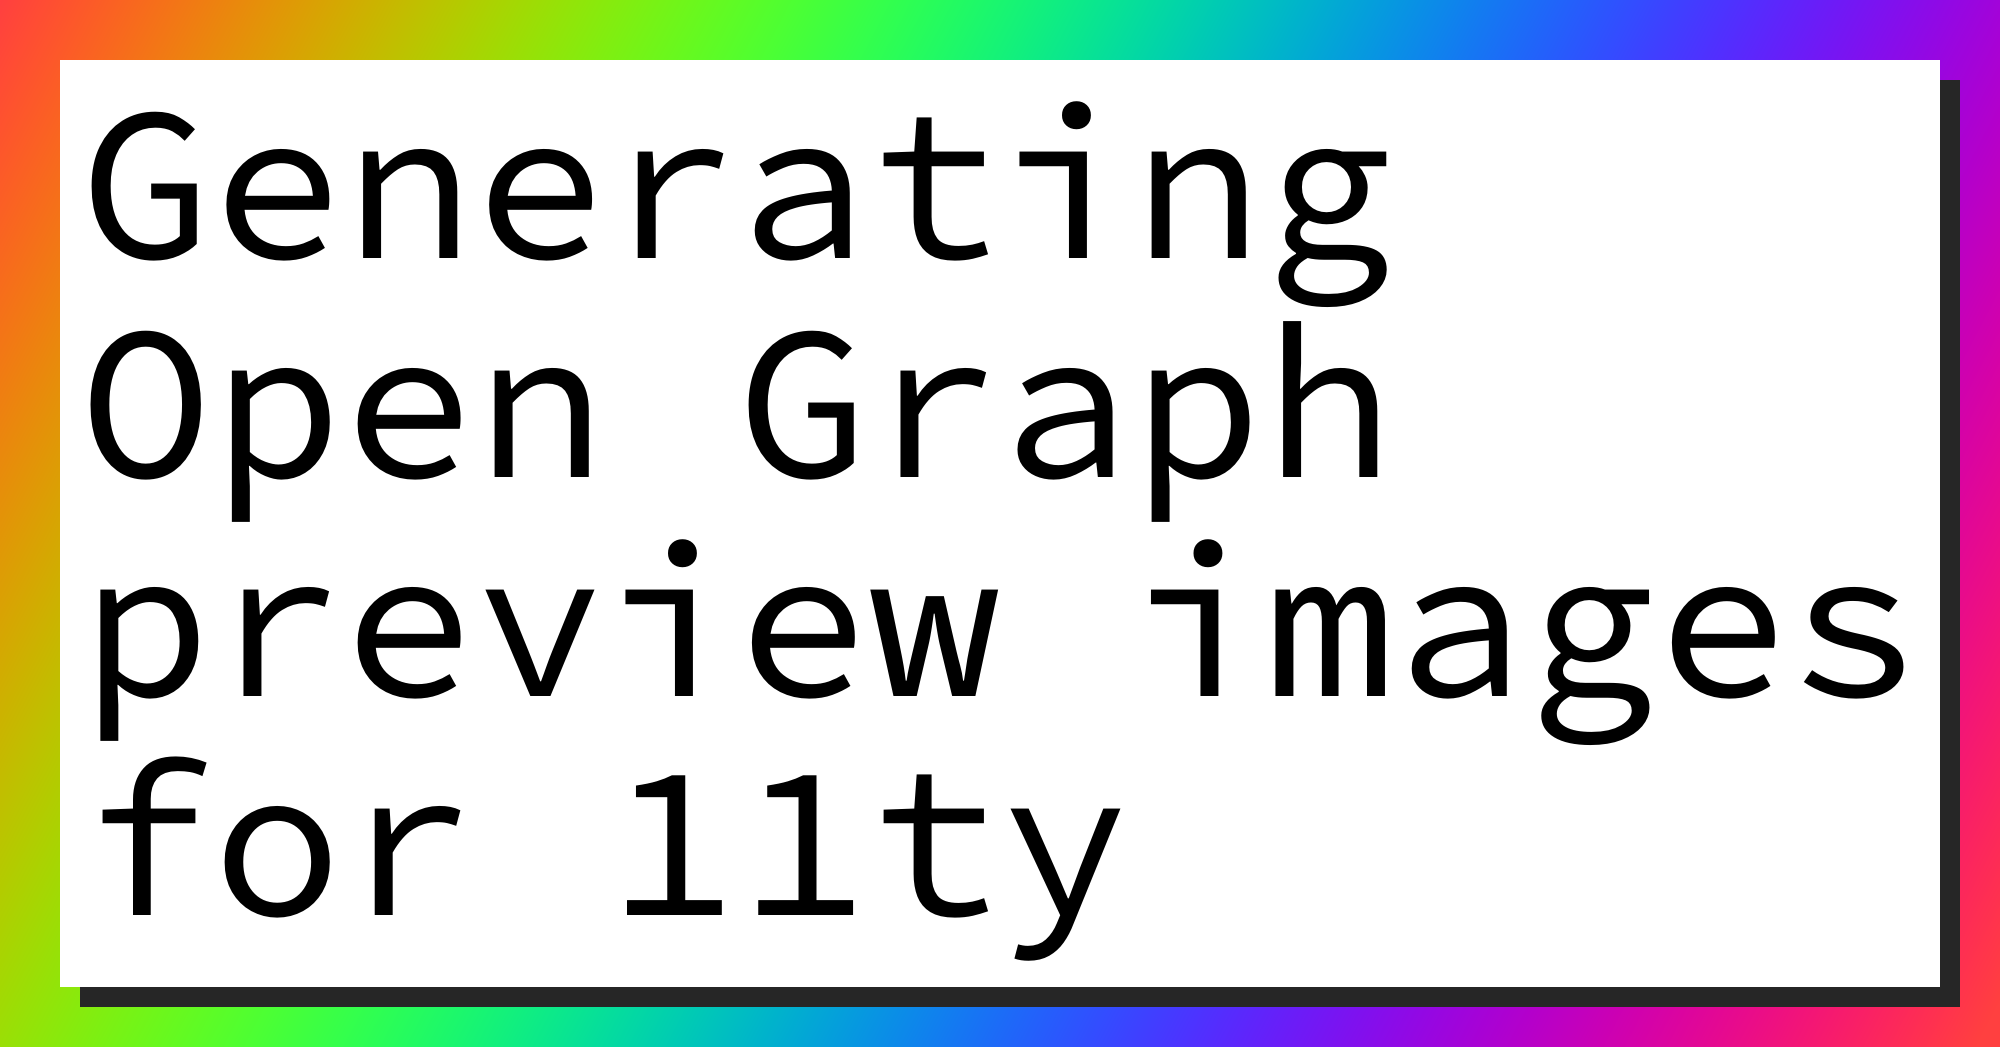
Making It Deterministic
The input at this point, is just a title. But there are a number of attributes that need to be set, and should be "random" but also deterministic for the same title. That rhymes with hashing function to me, so that is what I'm using to generate the values. I'm taking the SHA256 of the post title, and using the most significant bits as my values.
func stringToIndexes(s string) (bool, int, int) {
  sum := sha256.Sum256([]byte(s))
  return sum[0] > 128, int(binary.BigEndian.Uint32(sum[1:5])), int(binary.BigEndian.Uint32(sum[5:9]))
}
The outputs are used for gradient or pattern, which gradient or pattern, and then which color or gradient. This method may be biased, but it works well enough for now, and it always generates with the same styles.
Wrapping It All Up
Now that I have my generator, I could run it as a web service (say, in a Lambda), or I can pre-build all of them before deploy. I crawl my 11ty post directory, read the frontmatter for a title, and then feed that into the generator to make an image. For deploy speed I use a cache directory that Cloudflare build caching will pick up, saving a little bit of time there.
Open Graph images are generally treated as cachable forever, regardless of the cache control headers you send. If you want to change the image, you are meant to change the URL entirely. To help compensate for that, I include a hash in my output filenames, currently based on the source path of the markdown file. If I ever change my generator, I can slip in a revision to that hash which will change all of my URL's.
func (p *post) Name() string {
  h := sha1.New()
  h.Write([]byte(strings.TrimPrefix(p.SourcePath, "./")))
  bs := h.Sum(nil)
  return fmt.Sprintf("%s-%x.png", slugify(p.Frontmatter["title"]), bs)
}

var nonAlphaNum *regexp.Regexp = regexp.MustCompile("[^a-z0-9]+")
var dasher *regexp.Regexp = regexp.MustCompile("-+")

func slugify(s string) string {
  return strings.Trim(dasher.ReplaceAllString(nonAlphaNum.ReplaceAllString(strings.ToLower(s), "-"), "-"), "-")
}
For 11ty I added the tag to my header template. If the post sets an opengraph_image I use that, otherwise I pipe it into a function.
{%- if opengraph_image -%}
<meta property="og:image" content="{{ opengraph_image | safe }}" />
{%- elif title | opengraphImageUrl(page.inputPath) !== null -%}
<meta property="og:image" content="{{ title | opengraphImageUrl(page.inputPath) | safe }}" />
{%- endif -%}
The opengraphImageUrl function transforms the title and path in the same way that the Go did.
eleventy.addFilter('opengraphImageUrl', function (title, path) {
  if(title) {
    const slug = title.toLowerCase().replace(/[^a-z0-9]/g, '-').replace(/-+/g, '-').replace(/^-|-$/g, '');
    const pathHash = createHash('sha1');
    pathHash.update(path.replace(/^\.\//, ''));
    return `/static/og/generated/${slug}-${pathHash.digest('hex')}.png`;
  }
  return null;
});
Done!