Making Panoramas With Hugin
We recently got back from a visit to Colorado and I had taken a few sets of photos that I intended to stitch into panoramas. This was new to me, but I figured it couldn't be too hard, right?
With the help of Hugin, I figured right.
There is all sorts of cool tweaks you can do with Hugin, but I'm just going to touch on the basic process. There is a much more complete set of tutorials here.
The process boils down to these steps:
- Load Images
- Match Points
- Tweak Exposure (if you want)
- Render
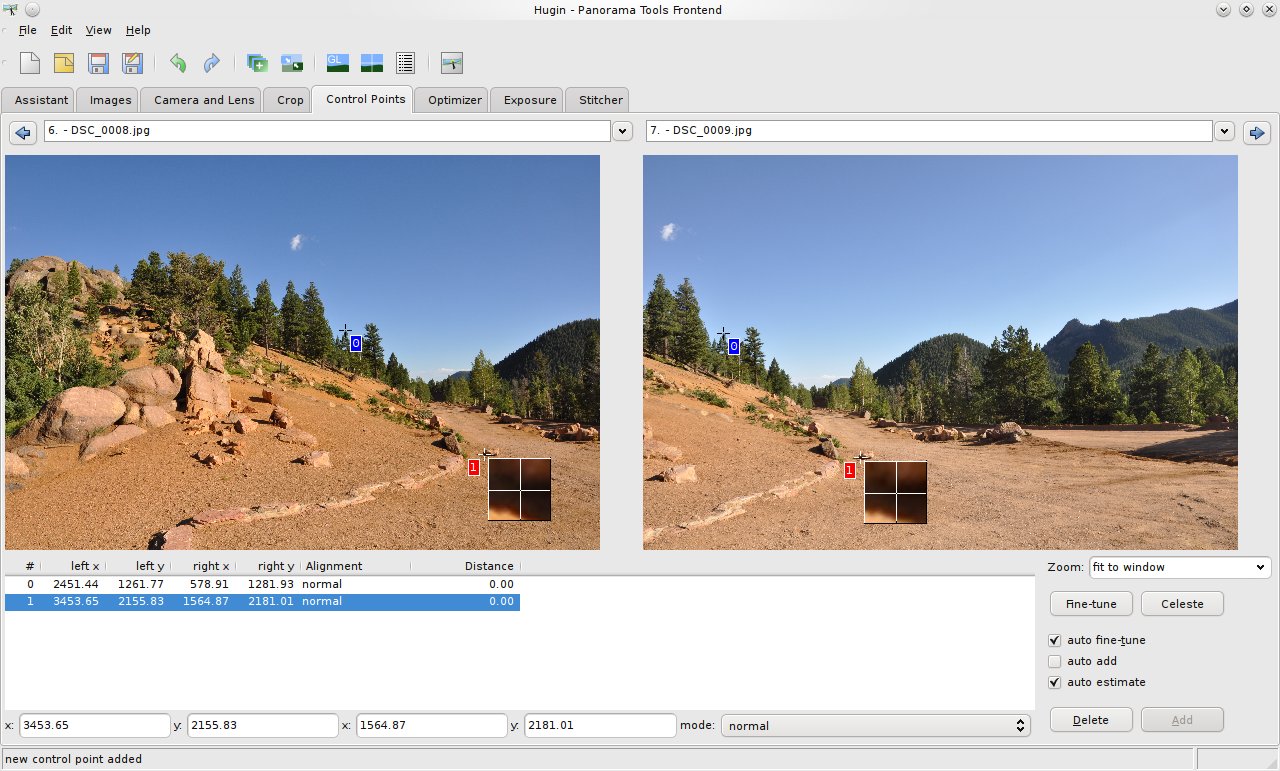
Matching Points
Matching points is just a matter of clicking on a recognizable spot in one photo and then the matching spot on the next photo. You don't have to be spot on, it will guess the right spot for you. Pretty cool. I did about four per photo pair.
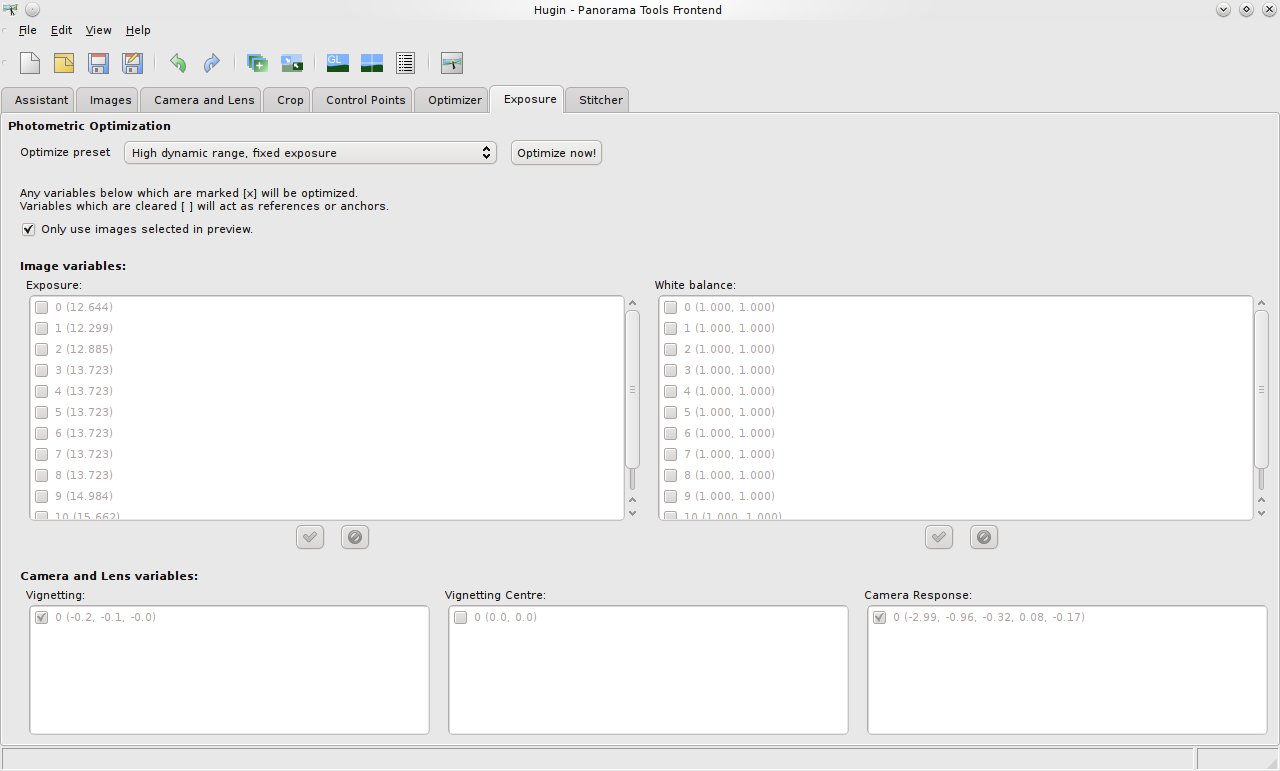
Tweak Exposure
I used auto-exposure on my photos and, as a bonus, took a few pictures with direct sunlight. Not good for clean overlaps. Here's my initial preview image.
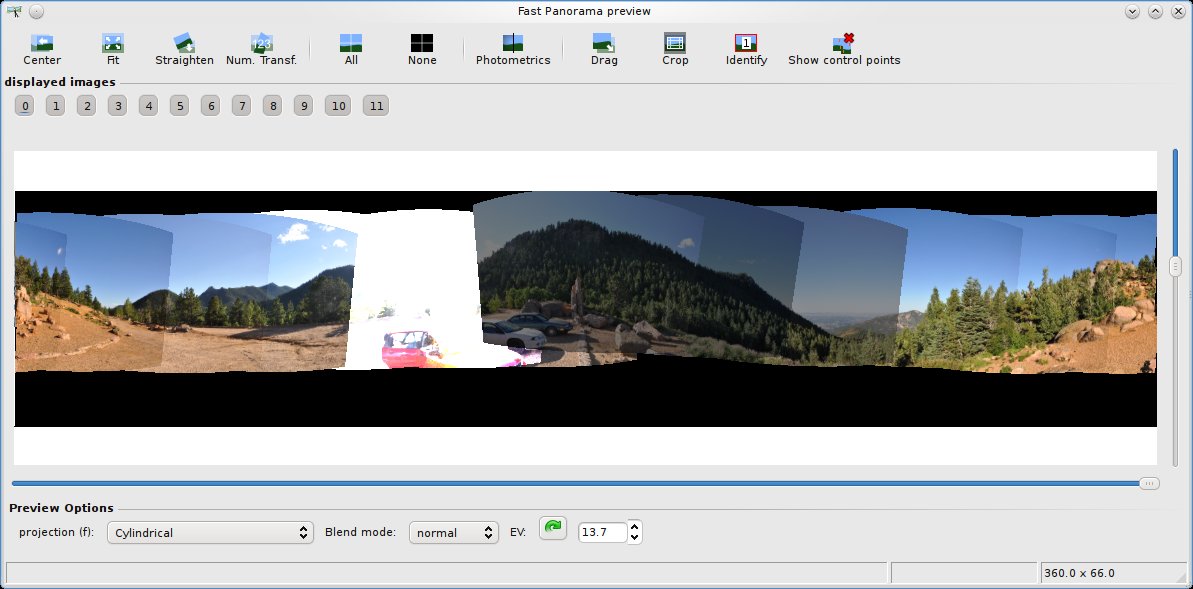
Yuck, it's all washed out and ugly. No problem, we can do some tweaking on the exposure tab and it should be all better.
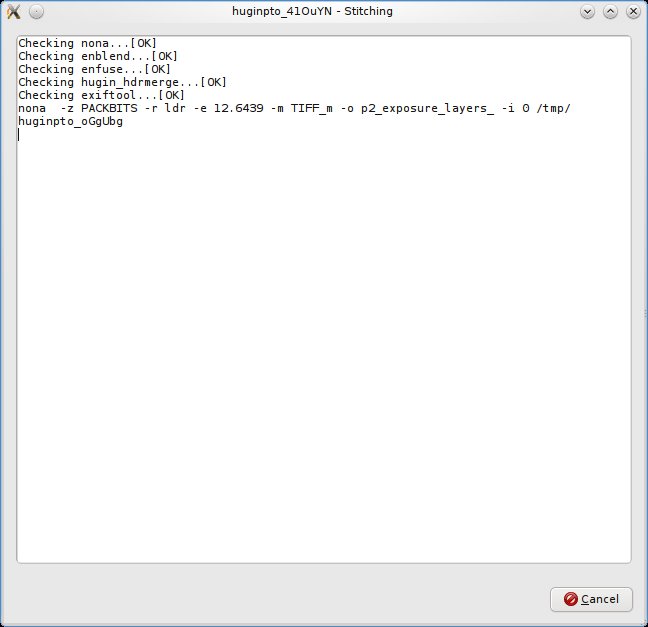
Render
Once everything is set up, rendering is a snap, it just takes a while.
Enjoy
Once it's done (not more than a few minutes) you should have your panorama. It's going to be big though, my un-cropped panorama was 14587x2416 and weighed in at a hefty 19 megs as a high quality JPEG. Wow.
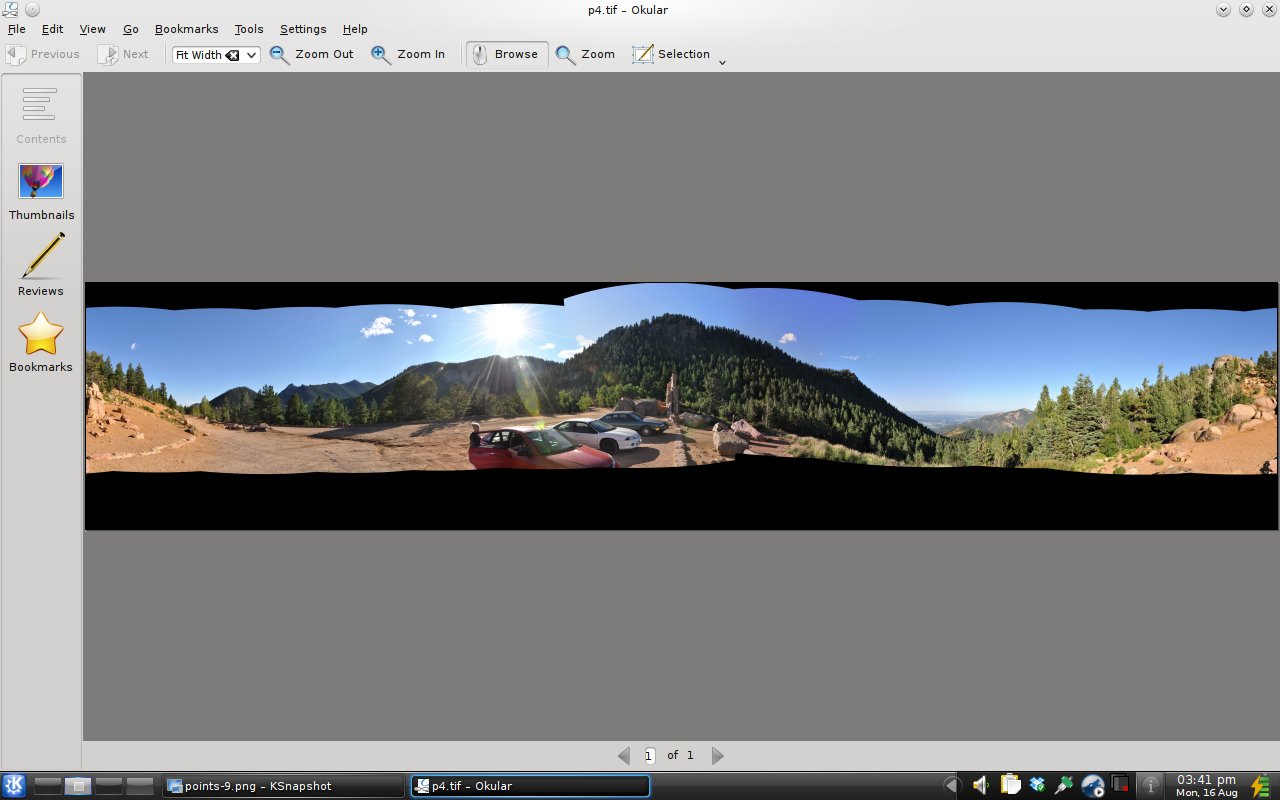
Overall Hugin is a super-easy and fun way to make awesome panoramic photos with any digital camera.